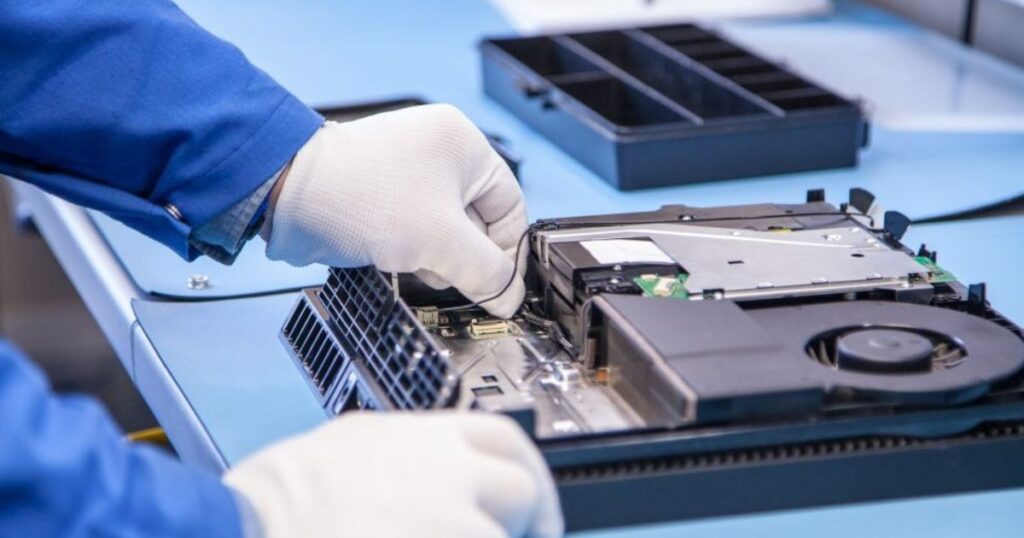
The PlayStation 4 is one of the most popular gaming consoles in the world, and like any other electronic device, it can develop issues over time. One of the most common issues with the PS4 is its fan, which can become noisy, slow, or stop working altogether. A faulty fan can cause the console to overheat and damage its internal components, leading to costly repairs or complete system failure. Diagnosing the issue, cleaning or replacing the fan, proper assembly, and testing by an expert at a game console repair can save your device.
7 Steps to Fix a PlayStation 4 Fan
Repairing the PS4 fan is not as difficult as it may seem, and here, we will discuss the steps you need to take to get your console up and running again.
Step 1: Diagnose the issue
The first step in repairing your PS4 fan is to diagnose the issue. If the fan is making loud noises or is spinning slower than usual, it may be clogged with dust or debris, or the bearings may be worn out. If the fan is not spinning, it could be due to a faulty motor or a disconnected wire. You can diagnose the issue by turning on your PS4, listening for unusual noises, or checking the fan speed using a third-party tool.
Step 2: Gather the necessary tools
Once you have diagnosed the issue with your PS4 fan, you must gather the necessary tools to repair it. If the old one is beyond repair, you will need a screwdriver, compressed air, thermal paste, and a replacement fan.
It is better to take your game console to a game console repair shop, which has all the necessary tools and equipment to deal with such problems. They have the best experts and experienced professionals that can help you solve your problem in a minimum turnaround time.
Step 3: Open the PS4
Before you can access the fan, you must open the PS4. To do this, turn off the console and unplug it from the power source. Remove the hard drive cover from the side of the PS4 by sliding it towards the back of the console.
Next, remove the screw holding the hard drive and slide it out of the console. Now, remove the four screws that hold the PS4 case in place and gently lift it off.
Step 4: Clean the fan
Once you have removed the PS4 case, you can access the fan. Use compressed air to blow out any dust or debris clogging the fan. Hold the can of compressed air upright and use short bursts to avoid damaging the fan.
You can also use a soft-bristled brush to remove any stubborn dust or debris. Video game console repair shops have the right equipment to clean the devices thoroughly. They have the most suitable vacuums and other cleaning tools to eliminate the dirt and debris accumulated on the device. Also, they can perform the cleaning without damaging any parts. If you try to clean it alone, you might damage it even more.
Step 5: Replace the fan
If the fan is beyond repair or is not working properly, you must replace it. Remove the screws holding the fan in place and gently lift it from the console. Disconnect the wire that connects the fan to the motherboard and set the old fan aside. Insert the new fan into the PS4 and secure it with the screws.
Reconnect the wire to the motherboard and apply a small amount of thermal paste to the heat sink to ensure proper cooling.
Step 6: Reassemble the PS4
Once you have cleaned or replaced the fan, it’s time to reassemble the PS4. Replace the PS4 case and secure it with the four screws. Slide the hard drive back into the console and replace the screw that holds it in place. Finally, slide the hard drive cover back into place and plug the PS4 into the power source.
Ensure you take all the safety precautions and follow all the steps correctly. However, if you cannot do it on your own, you can always take help from an expert at a. Nintendo Switch console repair shop that offers radius, PlayStation cleaning, and maintenance services.
Step 7: Test the PS4
Now that you have repaired the fan, it’s time to test the PS4 to ensure it works properly. Turn on the console and listen for any unusual noises or vibrations. Use a third-party tool to monitor the fan speed and temperature to ensure the console runs cool and quiet.
Conclusion
If you need the right equipment for testing, you should refer to a game console repair shop that has it all. This way, you can be sure that your money has been in the right place.
Vantel is equipped with all the necessary equipment for your devices’ maintenance, cleaning, repair, and testing. We offer premium quality services with a minimum turnaround time and the most competent prices.


