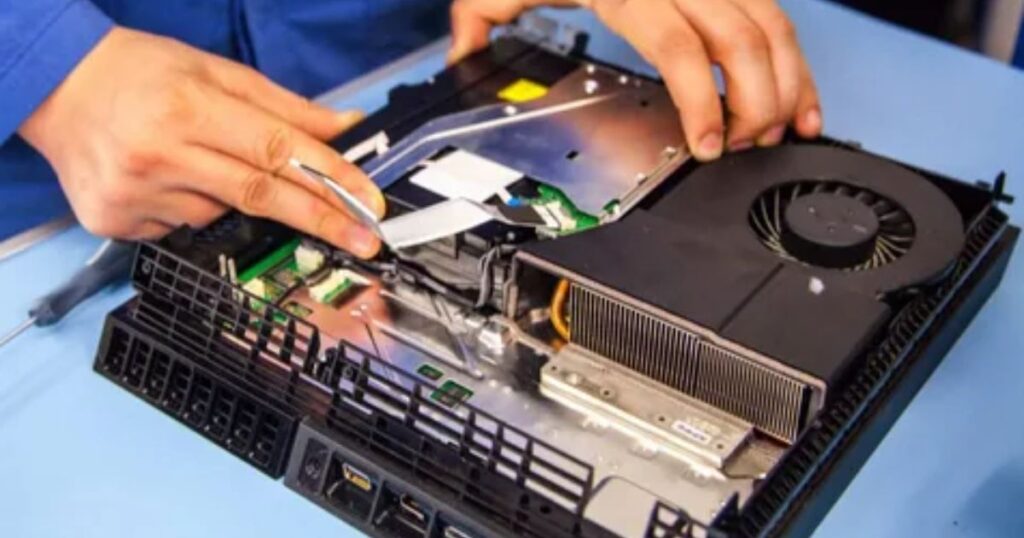
Technological advancements have made game consoles more powerful and offer an immersive gaming experience. However, game consoles are also prone to malfunctions and damage like any other electronic device. In this blog post, we will discuss how you can perform game console repairs at home by identifying the problem, turning it off, and opening and cleaning it. You can also look into the connections and pay attention to proper testing. You can also take your console to a game console repair shop for a more elaborate experience.
9 Steps to Perform Game Console Repair
Before we dive into repairing a game console, it is essential to understand that opening the console and performing repairs yourself can be risky. It can void the warranty of your device, and if not done correctly, it can also cause permanent damage. It is always advisable to contact a professional technician at a game console repair shop or the manufacturer’s customer support team to get guidance and assistance.
Step 1: Identify the problem
The first step in repairing a game console is to identify the issue. The most common issues include overheating, power, disc drive, and connectivity problems. You can identify the problem by observing the console’s behavior and looking for error messages. For instance, if your game console does not turn on, it indicates a potential power issue.
Step 2: Turn off the console
Once you have identified the issue, please turn off the console and unplug it from the power source. This will ensure that you don’t cause any further damage to the console and protect yourself from electrical shock.
Step 3: Open the console
To perform a game console repair, you need to open the console. This can be done by removing the screws and the casing. You can refer to the user manual or online tutorials to understand how to open your specific console model.
Step 4: Clean the console
Once the console is open, use a soft brush or cloth to clean the interior and remove any dust or debris causing the issue. It is essential to be gentle and avoid using liquid cleaners that can damage the electronics. A video game console repair shop has all the right equipment to clean the gadgets properly.
Step 5: Check the power supply
If your console is not turning on or is experiencing power issues, you can check the power supply. Ensure the power cable is firmly plugged in, and check the voltage with a multimeter. If the voltage is low or the cable is damaged, replace the power cable.
Step 6: Replace the fan
If your console is overheating, it might be due to a malfunctioning fan. You can replace the fan by disconnecting it from the motherboard and replacing it with a new one. You can find replacement parts online or at a local electronics store.
Step 7: Replace the disc drive
If your console has disc drive issues, you can replace the disc drive by removing the old drive and replacing it with a new one. You can find replacement disc drives online or at a Nintendo Switch console repair shop.
Step 8: Reassemble the console
Once the repairs are done, reassemble the console by placing the casing back and tightening the screws. Ensure all the cables are connected correctly and the console is placed in a well-ventilated area.
Step 9: Test the console
After reassembling the console, test it by turning it on and checking if the issue has been resolved. Testing the console thoroughly before using it for extended periods is essential to avoid any further issues.
When testing the console, there are a few things you should keep in mind:
- Check the power supply: Ensure the console receives power and the power cable is firmly plugged in. If the console is not turning on, you should check the power source or replace the cable.
- Test the game disc: If the issue was with the disc drive, test the console by inserting a game disc and checking if it works correctly. Check if the console reads the disc and the game is loading correctly.
- Check the connectivity: If the issue was with the connectivity, test the console by connecting it to the internet or other devices and checking if it works correctly. Check if the console connects to the network and if the online features work.
- Test the graphics: If the issue is with the graphics or display, test the console by playing a game or video and checking if the graphics display correctly. Check if the colors are correct, the resolution is good, and there are no visual glitches or artifacts.
Conclusion
Performing a game console repair at home can be a challenging task. It requires technical skills and knowledge of electronics. It is essential to take necessary precautions, such as wearing gloves and using anti-static equipment, to avoid damage or injuries. At Vantel, we have exceptionally skilled and trained professionals to deal with various game console repairs. We have hundreds of positive reviews and testimonials that show our dedication to our customers.


